As I’ve argued in this blog before, we should take every opportunity, as druids and other earth-centered spiritual people, to create sustainable practices. This should also extend to our use of ritual tools and other everyday objects. Last week, I learned how to do just this with regards to earthen candleholders and beeswax candles when I attended another workshop at the Strawbale Studio. I wanted to share that knowledge here, with the hopes that others can see how easy it is to make their own candles from locally available materials!

Sources for wax: Unlike parafin wax, which is created from petroleum, beeswax is a local, sustainable material that you can get from a local beekeeper or your own hives, if you choose to keep bees. Around here, beeswax goes for about $10/lb from local sources. Not only is it local and renewable, it also smells amazing, and makes your kitchen smell amazing when you melt it. For my candles, when I got home, I used a 50/50 mix of beeswax and recycled candle wax from some candles that really weren’t burning correctly. Because our wax was mixed, my friend and I added scents using essential oils to our wax jars: one jar with lemongrass essential oil and one jar with sandalwood and lavender essential oil. Both smell great!
Candlemaking Materials:
- Obtain some beeswax. Check with local beekeepers or at farmer’s markets. Wax seems plentiful and easy to get here in Michigan! You can also use recycled wax for this purpose!
- Obtain a tall container for dipping. At our workshop, Deanne had a really nice grapeseed oil can that was about 8″ high and 3″ across–perfect for dipping a candle. I suspect that a tall olive jar might also work well. In my setup, I used mason jars because I couldn’t find anything else.
- Obtain some sticks- these are for tying your candles off on and making it easier to dip. Go outside and pick some up :).
- Obtain some wick – Deanne purchased her wick online…I have some wick I picked up at a local thrift shop a few years ago (although I think its kind of hard to find that way!)
- Obtain some pots and pans…you’ll need these to setup a double boiler. I used a steel bowl with a pot underneath and a canning/stock pot. It worked really well.
Candlemaking Process:
After I left the workshop, my friend Sarah and I made some candles this weekend. Here’s what we did:
Process:
- Create a double-boiler setup on your stove. So have a big pot with boiling water, and place your beeswax dipping container in the pot. Bring the water to a boil. I actually used a big canning pot to heat up my wax (which I cut into smaller pieces and stirred with a stick to get it hot). Once the wax was hot, I kept a reserve of wax on the stove and then moved the two main dipping jars to my crock pot in a water bath to keep hot. This worked wonderfully well!

- While your water is heating up, chunk up your beeswax and add it to the dipping container. Eventually, any size of pieces will melt, but the smaller they start out, the faster they will melt.
- As your beeswax melts, you can stir it with a stick. Beware that anything of yours that’s in your kitchen and that gets covered in wax is likely to stay covered in wax long after this project is over.
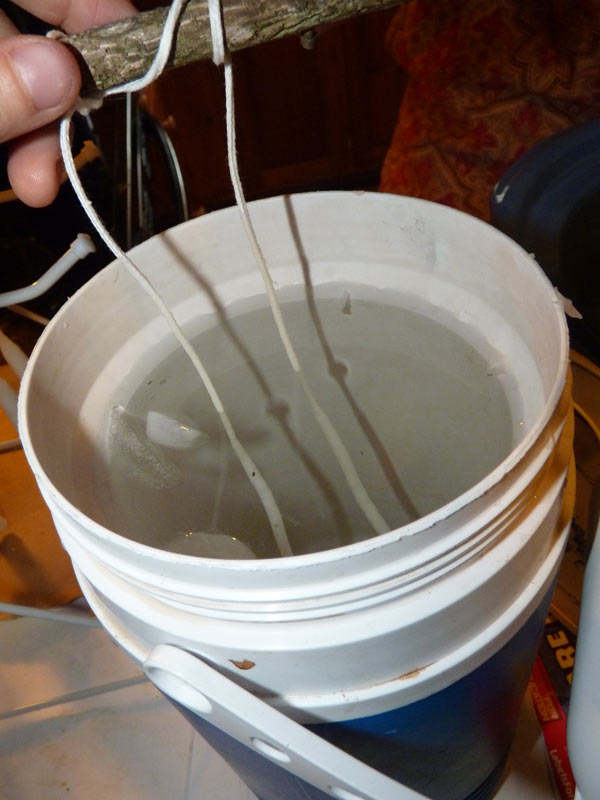
- Eventually, your beeswax will be very good and melted. At this point, you can start your wicks. You can do two at a time, but for your first dip, you might just want to do one at at time. Tie your wick off on the stick, making sure it is long enough to reach the bottom of your dipping pot.

- Dip your wick into the dipping pot till it hits the bottom and then pull it out. It will be warm–pull on the bottom of it to straighten it out.
- Now you are ready to begin dipping! To create your candle, you need to repeatedly dip your candle–quickly–in the dipping pot. Let it cool a bit before dipping again. I’ve learned two techniques at various workshops on this–the first is to have a bath of ice water and dip the candle in the ice water and then back in the dipping pot–the ice water cools the candle as it dries. The second technique is just to wait some time (like 30 seconds or so) to let the candle cool. If you are doing a bunch, you can start 3-4 of them and then dip each one and by the time you get back to the first one, it has cooled enough to dip again.

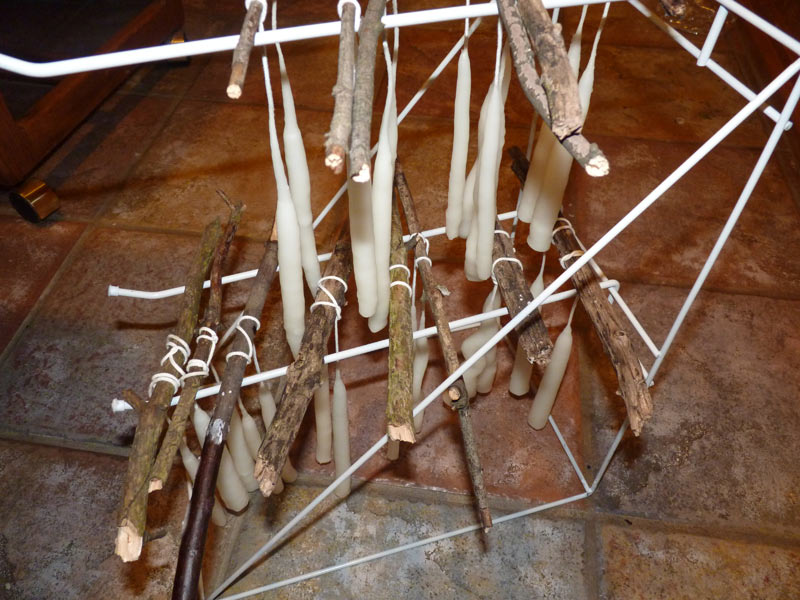
- You keep doing this, adding more wax as necessary, till you have a candle of the thickness you are happy with.
- At this stage, you should cut the bottom 1/2″ or so off your candle–the bottom will keep elongating as you dip, and that’s a bunch of wax that will never melt because there is no wick there. We threw our bottoms back in the pot, gave it one final dip to make the bottom nice again.

- Hang your candles to cool down (they cool in about 30-40 minutes). Enjoy!
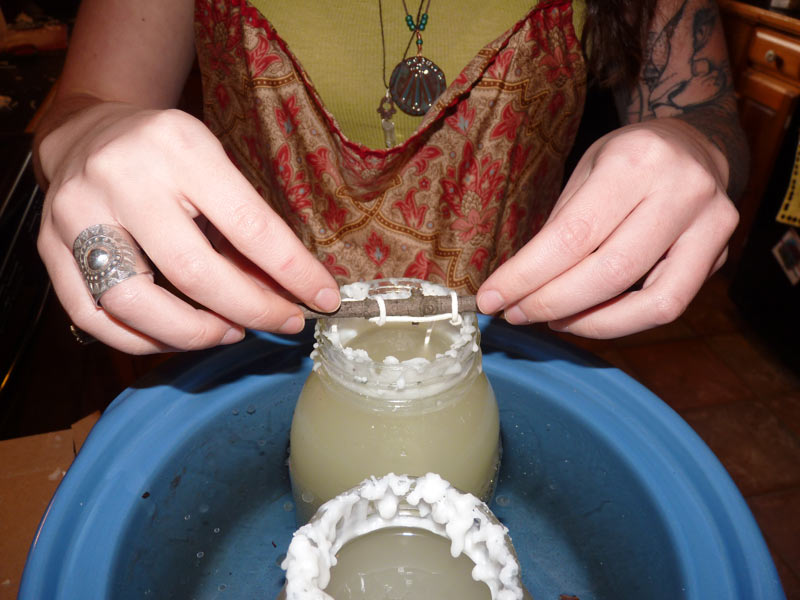
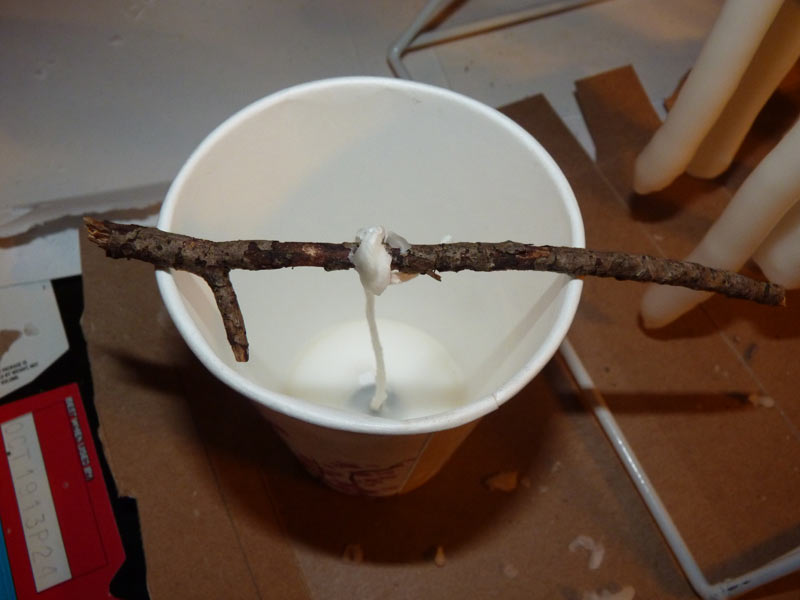
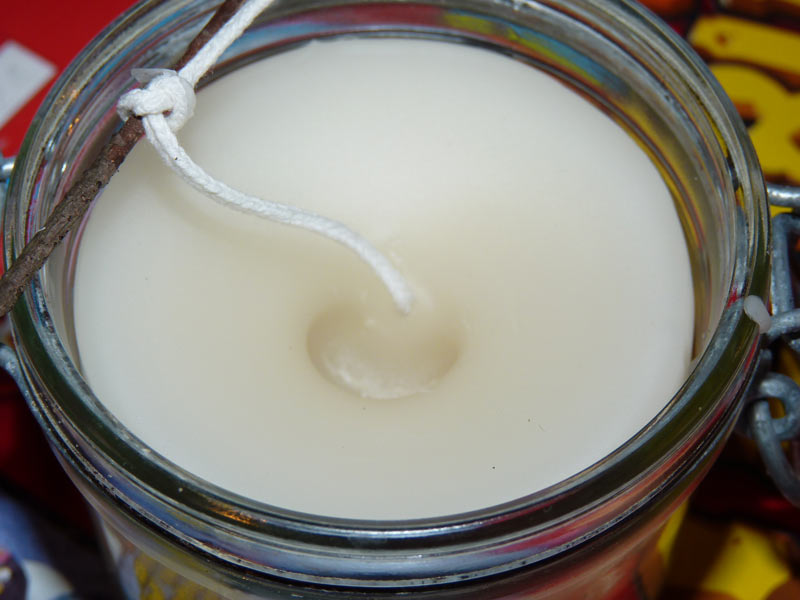
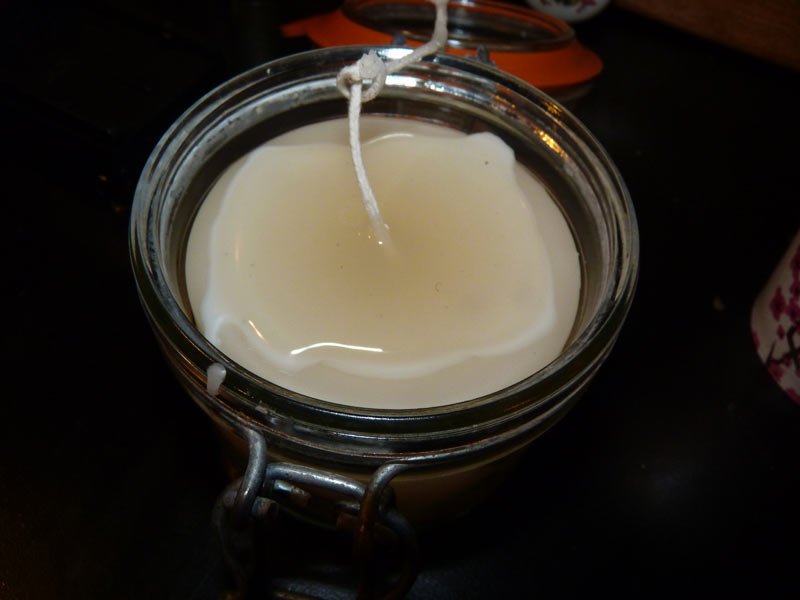
- If you want to use up your excess wax, you can create some votives or jar candles. Start by adhering your candle to the bottom of a paper cup or jar with a bit of wax (we also had those little candle bottom things, but I don’t think they are entirely necessary). We used a stick across the top to hold the wick in place.
- Next, we poured the wax from the jars into the cup.

- We discovered that once they cooled down, they had a divot in the center of them. So we added a bit more wax.
- At this point, you probably have a glorious, creative mess. Ah, such is the way of crafting.

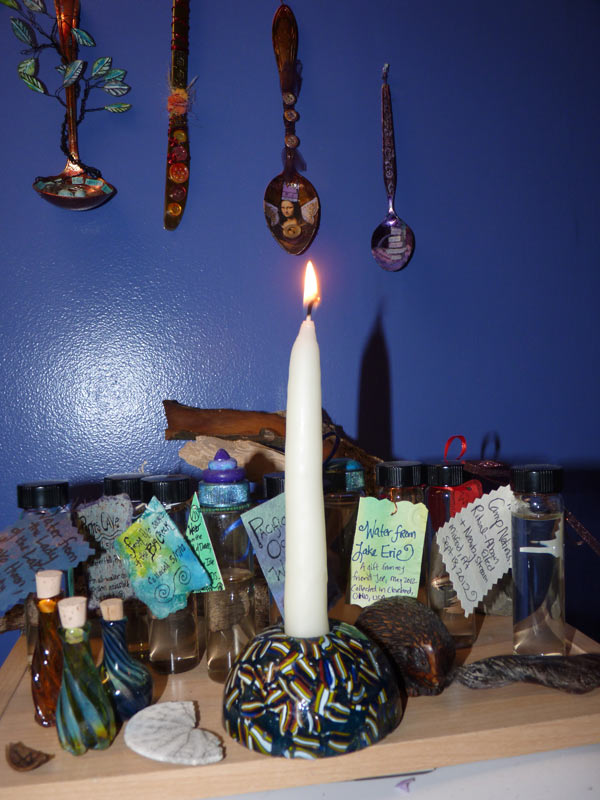
Once your candles are done, you can enjoy them in many ways. I am burning one while I am writing this post (its on my water shrine in my art studio!)


Thank you, we keep bees and this will come in handy.
Hey Dana, it’s Bee. 🙂
We experimented after you left with my favorite blend of essential oils: Rosewood and fir needle, it smells so sweet together like the forests of Yellowstone. Anyway, I made a votive by pooring the scented wax into a dried half of an orange peel, and it totally burned fine and was a cool candle. But… any citrus is super flammible so the dried orange peel candle on second thought may not be super safe. LOL. I burned it anyway, at dinner where I could watch it.
Hi Bee,
Thanks for the info and for posting! I’m noticing that the ones we added scent to smell nice when you stick your nose to them, but don’t really smell when you burn them. So that’s consistent with what we found here! I wonder if there are natural ways of scenting them…I hate to think what kinds of crap is in a “commercial” candle scent!
This is such a great instruction I never previously read. Great post!
[…] natural building, growing mushrooms, barn raising, rocket stoves, composting, food preservation, candle making, and so much more. I’ve also been excited to meet so many people from around the world who are […]
Reblogged this on Rattiesforeverworldpresscom.