
The spring is a wonderful time to begin starting your seeds–and here in Western PA, we just crossed the “eight weeks before last frost” threshold, so it is a bit of an urgent matter! This means that this weekend is the time to start many of the warm season crops and perennial herbs. Today’s post takes a “recycled” spin on seed starting to share with you a number of tricks for seed starting all using recycled and repurposed materials (drawing upon the permaculture principle, “waste is a resource”). For these seed starting options, we are making use of many typical “trash” and “recycle bin” products: newspaper, styrofoam take-out trays, two-liter soda bottles, and Venetian blinds. Even if your household doesn’t produce this stuff yourself, a simple walk down any suburban or town street will likely yield more of these materials than you’ll likely ever need.
If you want to know more about seeds and how to develop a good seed starting setup, you can visit my earlier post. I also have written about the kinds of seeds to start and my spiritual insights on seed starting in earlier posts.
Recycled Two-Liter Soda Bottle Seed Waterer
For really small seeds that need to be sown on the surface (like chamomile), watering them with a regular watering can or small indoor plant watering can dislodge the seeds. Then, the seeds flow to the edges of your pot and then sprout along those edges. However, a good farmer friend showed me this trick to create a very effective seed waterer using a two-liter soda bottle. This waterer offers a very gentle watering system that doesn’t dislodge seeds (it also allows for uniform watering quickly of many different seed starts).
Materials: A drill with a small bit, a two-liter bottle with cap
Instructions: You simply take a very small drill bit and drill in a series of holes, like below. The more holes you drill, the faster your water will come out (so you might want a few different options).

Once you’ve drilled your bottle, you fill it with water and water away!

Squeezing the bottle gently gives you a wonderful sprinkle that is just the right size for your seedlings and is kind to the tender plants. Here I am watering some st. johns wort plants.

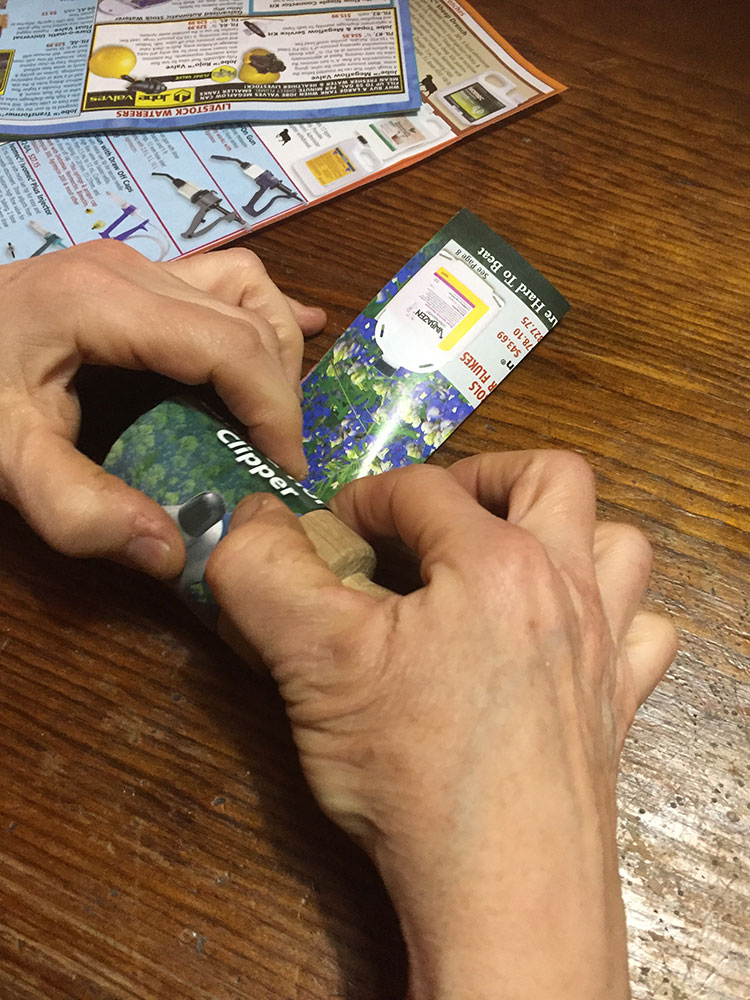
Recycled Venitian Blinds as Seed Labels
Venitian blinds made of plastic are in widespread use but often end up being a waste product. Personally, I can’t stand the things, but I’m glad to have found a real use for them. If one or two of the smaller flimsy plastic blinds break, they are typically thrown away. Larger ones eventually also are discarded. We see this here a lot in my college town–you can probably pick up a dozen or so of the discarded sets of blinds within a year’s time if you keep an eye out. What a friend of mine taught me some years ago was a simple trick to create labels for your seedlings and outdoor plants: using Venitian blinds and markers.
Cut-up Venetian blinds actually make a wonderful choice for labels because they are hardy and don’t break down. The only potential challenge is that if you use a sharpie on them, the marker will eventually fade in the sunlight (not a problem for seed starting, but can be a problem for planting out).
Materials: Venetian blinds of any size, scissors, sharpie marker.

To make the blinds:
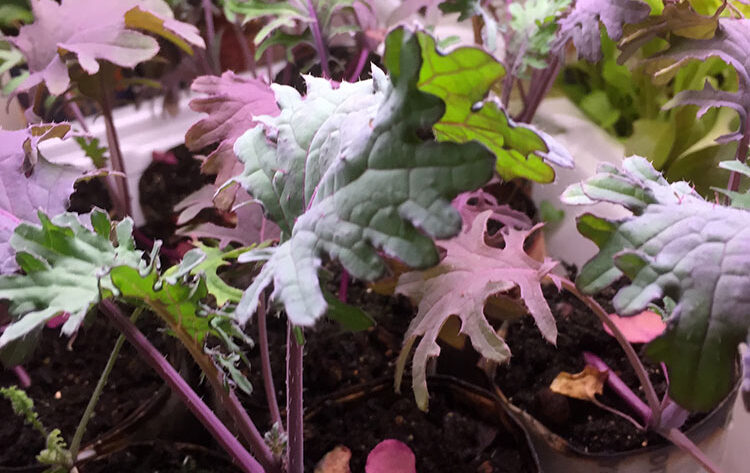
Any kind of blind works: you can use both the larger blinds (as in the photo) or the smaller blinds; both cut with a simple pair of scissors. Once you’ve cut them, simply label them and stick them in your pots (paper or plastic; In the photo below have some hand-me-down plastic pots with Veneitan blind labels–some of the seeds I started this week).


The labels can be used year after year; even if the marker fades, you can simply replace it.
Recycled Paper Pots
This year, a friend and I experimented with these paper pot makers from the UK. They are nice–you roll up the pot, and then, the pot maker kind of crunches up the bottom as you twist it on a wooden base.

After some experimentation and modification, however, we found an even easier way to make these pots–with an added benefit of a bottom watering option using recycled take-out trays.

The process we developed doesn’t even need the paper pot maker–any jar (like a vitamin jar or spice jar) will easily do the trick.
Materials: Newspaper (preferably black and white, as this has soy-based inks), stapler, recycled styrofoam or plastic tray.
The process:
First, you fold your newspaper into the right size.

After folding, you need to roll it on something. So here we go…
Now, you staple it or fold in a corner to hold it together.

Now, we place the pot, with the open bottom, into a recycled take-out tray and fill each with soil. A spoon works really well for this purpose (although I prefer to get my fingers right in the soil). If you put your soil in a bucket and make your soil wet (getting it to the consistency of brownie batter) your pots will fill very easily and then you don’t have to try to water the seeds after planting them (dislodging them).

These paper pots hold up pretty well over time. We’ve noticed that when the plants outgrow them, they start to break their roots through the pot (see photo below). This is a good sign to plant out or transplant into a bigger pot!

Not to mention they look really cool by comparison to other plastic options.

And don’t forget–seed starting is serious business! Someone needs to check your work. Here is our inspector general, Acorn.

I hope that the blessings of the spring are upon each of you! If you have any other good tips for recycled/repurposed seed starting or growing ideas, I’d love to hear them 🙂


Great blog post! Love the idea of creating my own little pots! And I love the expression on the Inspector’s face! Priceless!
Great! Let me know how it works out for you :). These pots are working wonderfully for the seeds our community is starting this year :).
Reblogged this on Rattiesforeverworldpresscom.
Thanks for the reblog! 🙂
Reblogged this on Laura Bruno's Blog and commented:
Great tips here!
Thanks for the reblog! 🙂
Reblogged this on Blue Dragon Journal and commented:
Inexpensive ideas for your garden…
Thanks for the reblog! 🙂
Reblogged this on Deer Heart Reiki Blog and commented:
Very good suggestions here
Thanks for the reblog! 🙂
Reblogged this on unity2013.
Thanks for the reblog! 🙂
Reblogged this on Infinite Shift.
Thanks for the reblog! 🙂
[…] The Druid’s Garden […]
Thanks Dana, great ideas! And timely for me as I try vainly to remove plastic from my life.
Absolutely, Colin! Just yesterday, my little greenhouse blew over and the plastic pots were crushed and no longer usable after this season. But the paper pots and plants were just fine 😛
Thank you very much for this wonderful idea! I have wooden planter boxes I will be sure to try this in. My boxes are for herbs only! I will be sure to try this very soon.
You are most welcome! Thanks for reading!