
As the Winter Solstice is coming up quickly and the tree just went up this past week, I’ve been busy in my art studio and out on the land looking for great things to add to the Yule tree. As a druid who is deeply concerned about the amount of plastic and “throw away‘ quick purchase items, like cheap plastic ornaments, I didn’t want to buy any ornaments for the tree, but rather, to make them from wildcrafted materials. So today, I wanted to share two simple ways to make nice ornaments for a Yule tree from natural materials and simple tools.
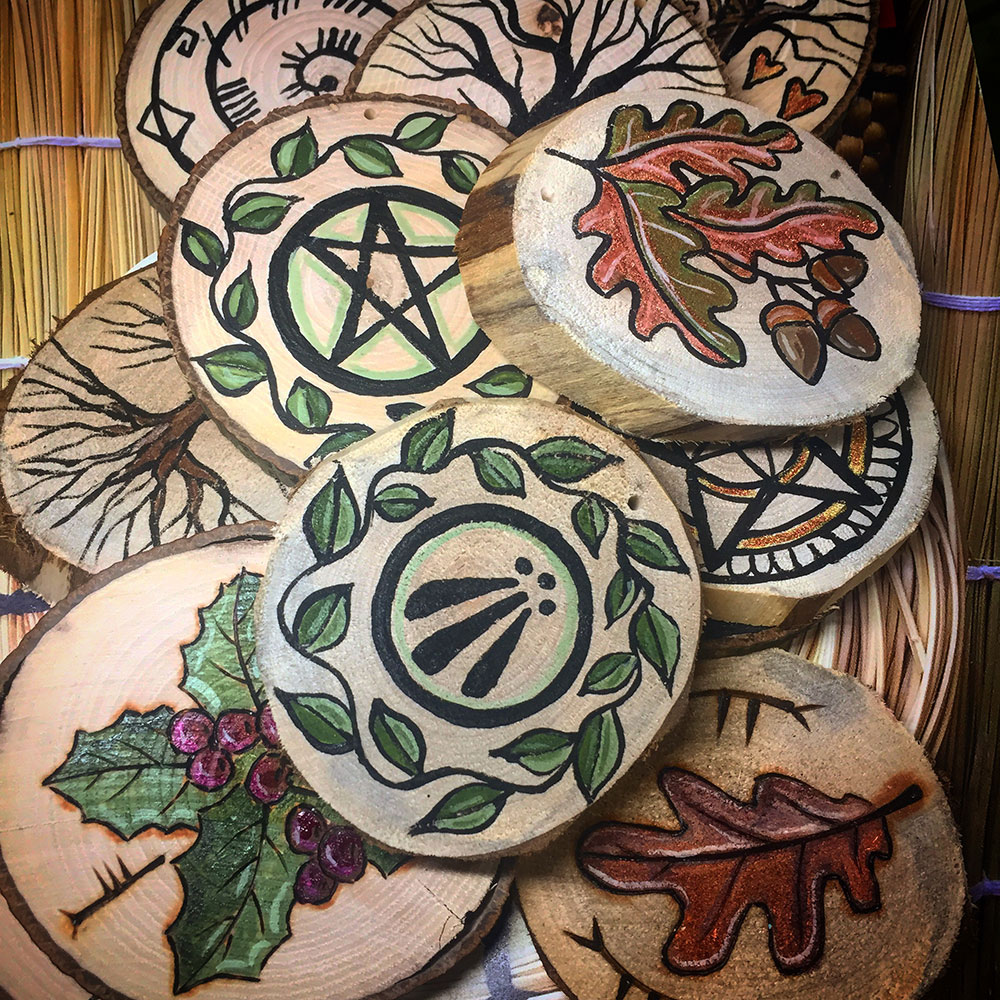
Painted or Burned Wooden Round Ornaments
One simple method for creating ornaments is a painted or woodburned wood rounds. These are simple slices of wood that you can decorate in a variety of ways–painting them, burning them, or staining them.
Obtaining Wood:
You can cut rounds from either fresh or dry (seasoned) wood. Most wood cracks as it dries out, so if you are cutting wood rounds fresh, you want to cut extra because some will crack as it dries. If it is already seasoned wood, you can cut it without too much concern as the cracks are already present. Even if you find dry wood in the woods, if its a rainy year, it may still crack a bit as it dries. The longer the wood sits outdoors, the more dark areas it will have and at some point, it will start to break down.
You might spend time looking for wood–what I like to do is take a small foldable hand saw with me regularly on my walks or hikes, and if I see a nice piece of wood that has recently fallen, I’ll take a piece of it back with me, using it as a walking stick till I get home. I store these in my garage, and eventually, I have a nice pile for cutting. You want fairly long pieces for using the saws (see below).
Some of my favorite woods to use are sugar maple, red maple, oak (harder to Woodburn), sassafras, walnut, eastern hemlock, or cherry. Different woods produce different grains and colors, which you can all use to your artistic advantage.
Cutting rounds: In order to cut your wood rounds, you need either a table saw or a miter saw to cut them; you could also use a hand saw but it would be very tedious. If you don’t have one, ask around; chances are, a lot of people have these saws and would be willing to cut wood rounds for you or let you take 30 min to cut your own. I was without such a saw for many years but finally invested in my own.
Cut your rounds to any thickness or size. A miter saw also lets you cut them on a nice angle.
If you are cutting wet or fresh wood, one of the ways to minimize cracking is to put your freshly cut wood rounds in a paper bag for a few days. The paper bag slows down the drying and there is less cracking.
Regardless, you will want to wait a few days before painting or burning them to make sure they aren’t going to crack.

Decorating Wood Rounds: You can do many different things to decorate your wood rounds. If you have a wood burner, this is a great and simple way to decorate them. You can also paint them with acrylic. Wood stains are not meant to be precise and will likely leak all through your wood, so unless you are staining the round all one color (say, on top of a wood burned design), stay away from traditional wood stains. Yes, I learned this the hard way!
If you are not confident in your drawing skills, two options may help you. First, you can purchase or make stencils of simple shapes and symbols, and use a stencil technique for your wood rounds. The second is to print out designs and use a transfer paper (available in any art or craft supply store) to transfer the design, then paint or burn over it.

Stick Wreaths, Awens, and Pentacle Ornaments
This second kind of ornament is a little more involved but produces beautiful results. For this, you will need some hand clippers or loppers, wire of various colors, wire snippers, and access to various kinds of brush, shrubbery, vines, and/or small sticks. Here’s a photo of what we will be making next.

Finding the Right Woods
To make these delightful ornaments, you need two kinds of wood: one that is relatively bendy and one that is relatively firm and less bendy. You can test the bendability of wood by trying to bend them in half–if they bend easily, you have a good “wreath” material. If they snap, that is a good “straight” material.
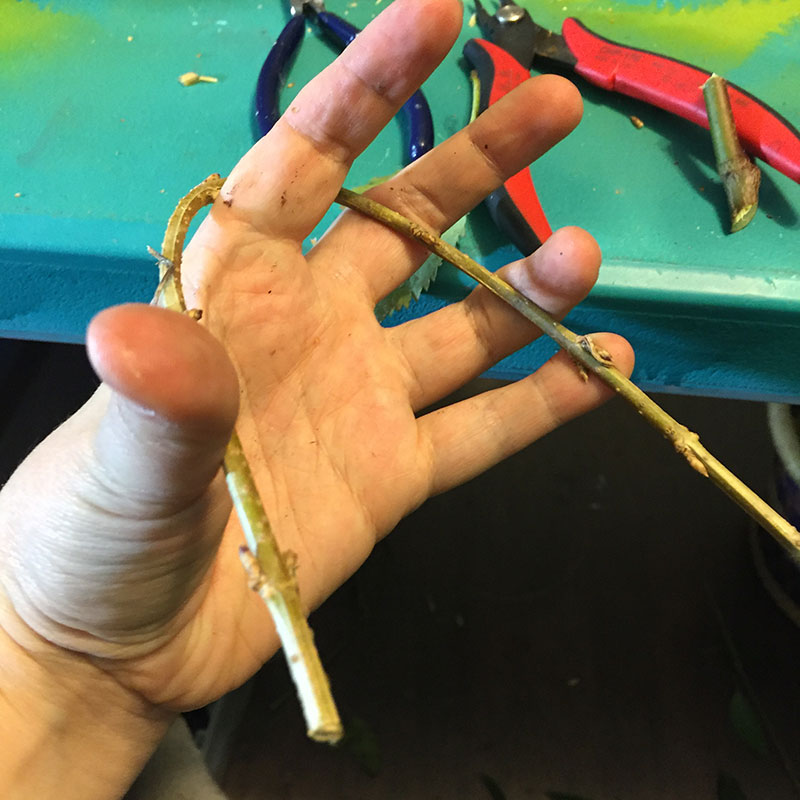
Wreath materials can be a lot of different things: most woody fines work great (Fox grape, other kinds of grape, buckthorn, bittersweet, to name a few). Willow branches are fantastic for this–look for them of various kinds near wet areas. Other bushes and shrubbery of various kinds can also be used. For mine, I used an unidentified shrub (that was planted by the previous owners of the land) as well as some very young dogwood branches (that I needed to cut back anyways near my coop). Ideally, you should be able to bend it at least as far as in the photo above before it snaps (if not more, in the case of many thinner vines, etc). Thin materials and new growth are best for the smaller ornaments. These materials *must* be cut fresh and used within a few hours or they will dry out and lose their bendable quality.
Straight materials can be anything that you like. I have some really lovely rose bushes that produce thornless straight branches–I like them for the green color. Other branches I used this time around were some beaked hazels, cherry, and some maple.

Plan on harvesting the woods the same day you will make your wreaths and ornaments.
Making the Wreath
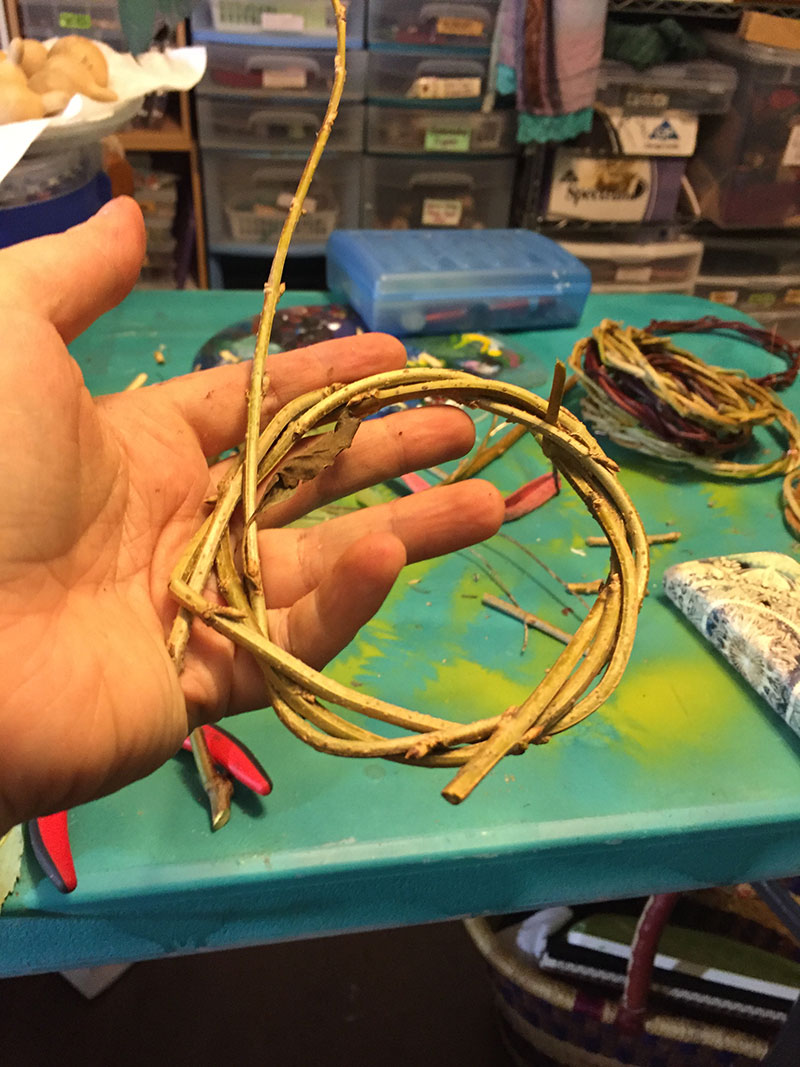
Depending on the length of your bendy wreath materials, you will likely need 1-3 pieces of material for each wreath. You will have to coax the material to do what you want it to do. Start by making a circle of the initial material, tucking in the end so it is held by the wreath.

For this, I like to start with the thicker end first and keep working around, twisting it as I go. You may have to help the wood bend by slowly bending it till it will keep the bend–each wood is unique. The stuff I’m working with for this demo was definitely less bendy than willow or grapevine but still did a fine job as long as I was patient.

At some point, you should be able to have the end tuck in around the wreath. Don’t worry if it’s completely circular at this point yet–just keep adding material.

You can see above where I have a little bend in the wreath material–once I add more, you won’t be able to see the bend.
Now I’ve added in a second piece. Don’t yet worry about the ends–we will deal with those at the end. Keep wrapping the material until you get a wreath the size you want.

As the wood dries, it will become very tight and the wreath will hold together on its own and hold its own shape. When the wood is wet, however, you may need to secure it with some wire (that you can remove when it’s dry). You can also, at this stage, trim any ends that are sticking out (as I am doing so above) or wait till they are dry to trim them.
Make as many wreaths as you like! They are great on the tree on their own, or, you can take it a step further and make an awen or pentacle.

Awen Ornament
Choose three straight pieces and cut them to just larger than your wreath. They don’t have to be perfect at this stage–you can always trim them later.
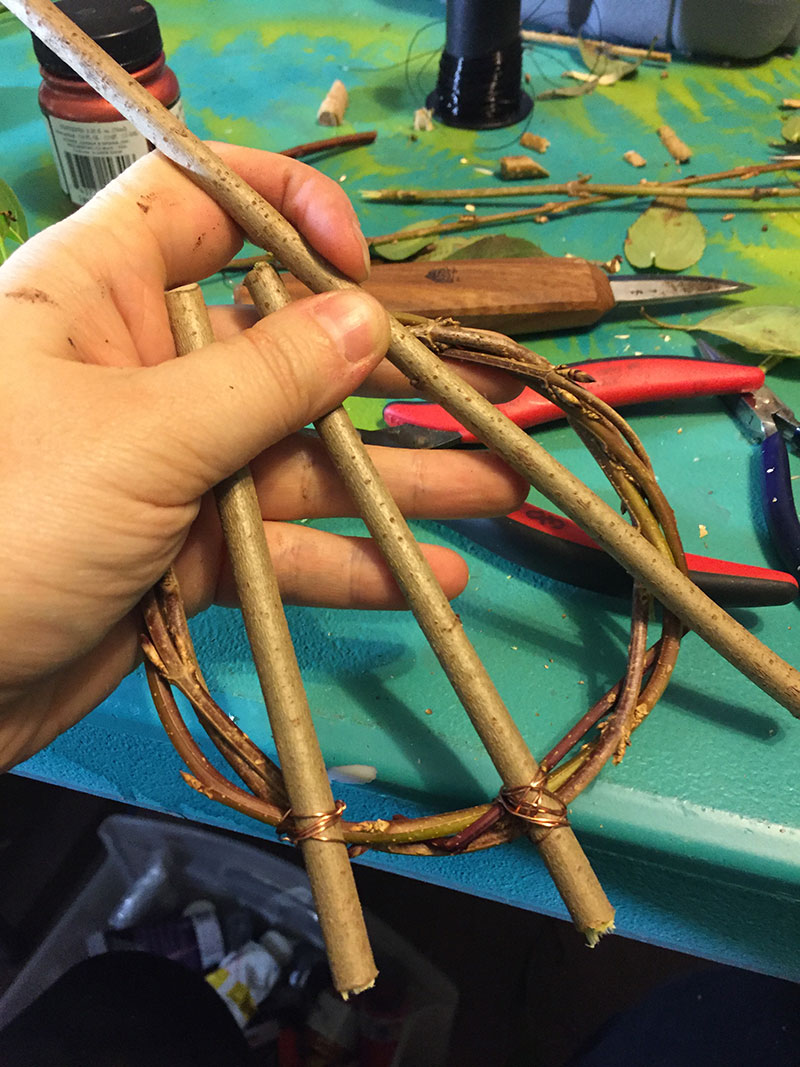
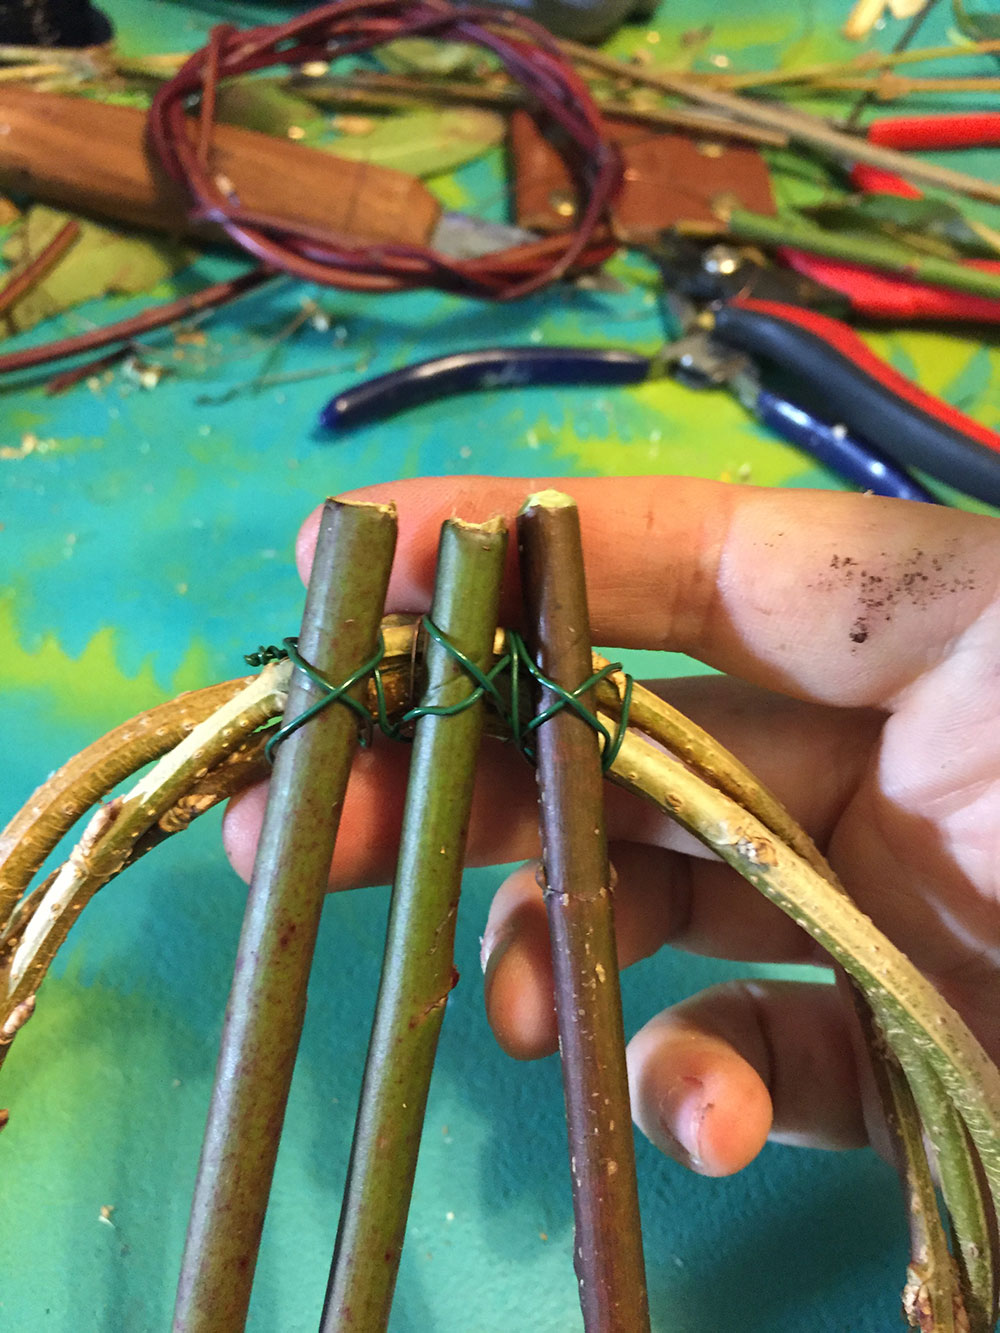
Once you have your three straight pieces, begin attaching them at the top. Simply wrap a thin wire around the branches and the wreath a few times till they are secure. You could alternatively try to glue them, but I don’t think this is a good idea with shrinkage. Try to attach them as solidly as you can–if you are working with wet wood, they may loosen and shrink as they dry.

Once you have the top attached, attached the middle bottom. Then you can decide how far out you want the two outer rays of the awen.

Pentacle Ornament
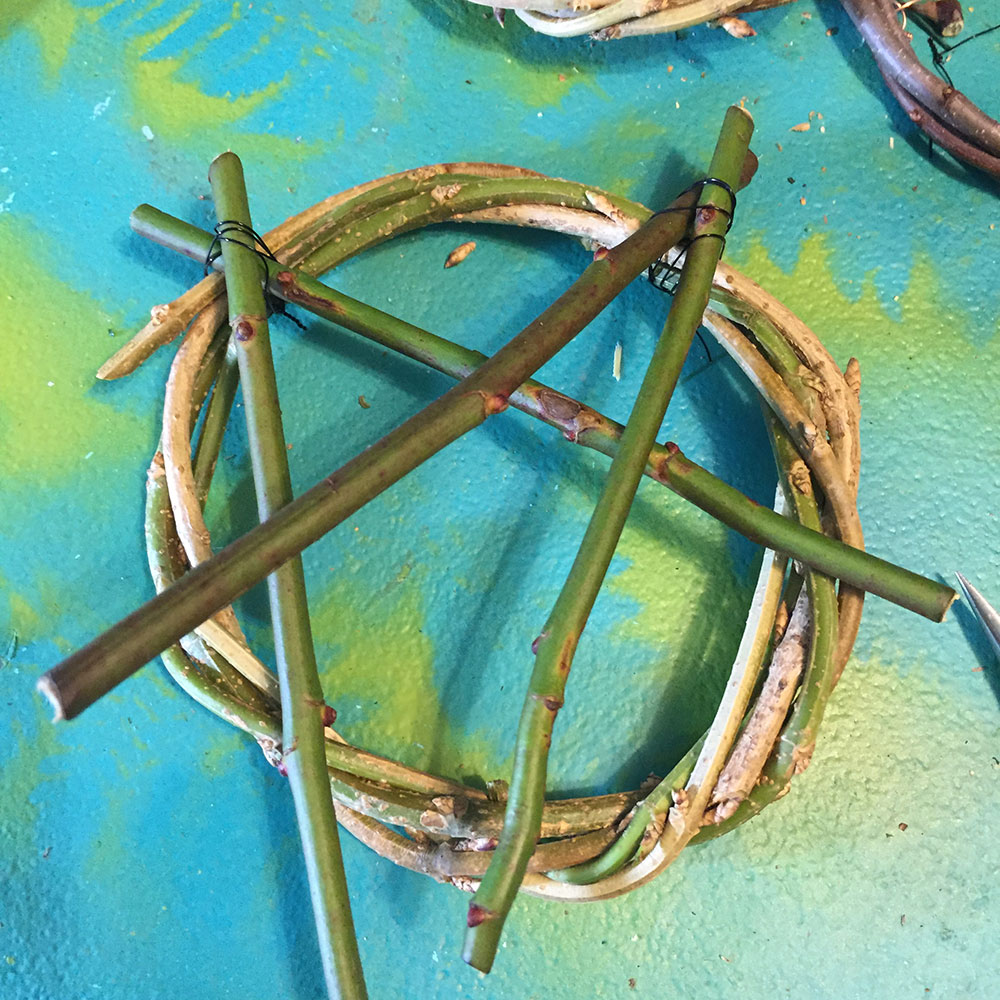
Once you get your feet wet with the awen ornament, you can tackle the more complicated pentacle ornament. This is one with rose bush branch and the shrub from my yard.

For this, you will want five straight pieces that have a little give in them. They should be fresh wood, as you will have to bend them a bit over each other to get the effect right. As an optional step, if your pieces are quite thick, you migth shave them down on one side. This isn’t necessary if you have thinner pieces.

Now, begin to construct the pentacle. Start by attaching two of the pieces to the top of the pentacle.

Here’s how the back of this looks at this stage. You can see how if you shave it, you can get a closer fit.

Now, 1/5 of the way down from the top, attach the next two pieces at the point of the star. This gives you two of the five sides attached. You can mess around with which ones should lay on top of each other as you go–some sticks will fit better on top or bottom than others.
Now, go ahead and attach the other star point that can be completed (on the bottom right). Next, add in your 5th branch and figure out how to best fit it (it might fit better under rather than over previously attached sticks). Keep attaching each of the sides.

Finally, attach your last sticks. You work with these wet because at this later stage, you may have to bend them a little to attach them to the wreath together.

At this stage, let them dry out for at least two days. The wood may shrink a bit, which will firm up your wreaths but may require you to tighten up the wire (which you can do by putting a simple bend in it or re-wrapping it).
Once they are dry, if you want, you can brush these with paint or just leave them natural.
I hope you enjoyed this simple tutorial for creating wonderful yule ornaments! If anyone does this, please share a link to your creations or tag the druid’s garden on Facebook or Instagram (@druidsgardenart). Thanks!


Reblogged this on Paths I Walk.
Thank you for the reblog!
I kind of wish I wasn’t looking at a blizzard out my door this morning…I would go out in the woods and see what I could find for my tree! Thanks for the great ideas!
Absolutely! It is pouring rain here, but I hope it will clear later! Thanks for reading!
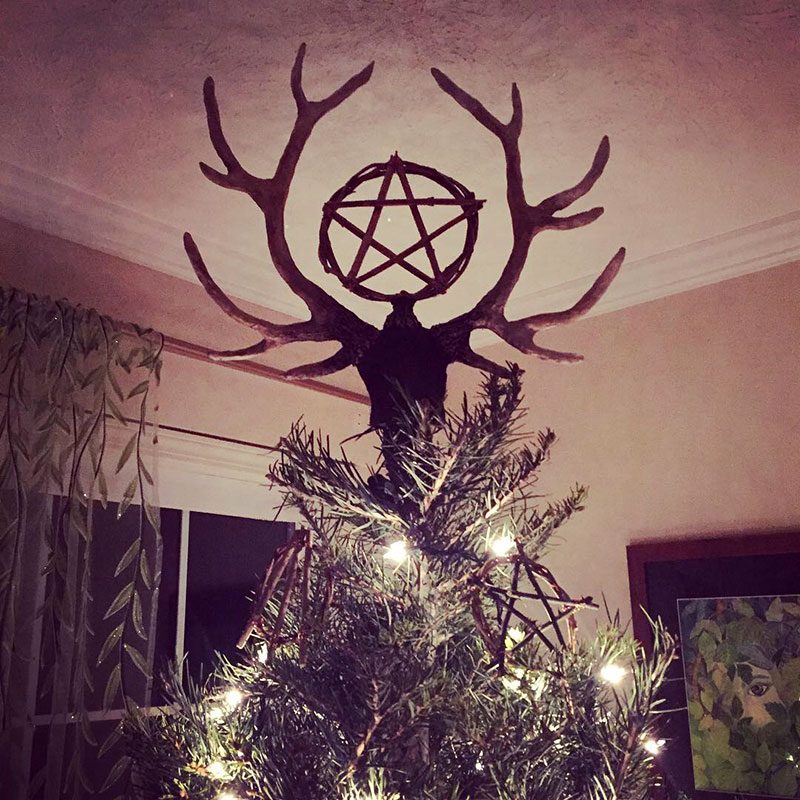
Can you show how you made the tree topper
It’s beautiful
Someday, perhaps :). Unfortunately, my image was stolen from my website without proper credit and circulated around the web, so I’m not keen to do that at this time….
Reblogged this on Rattiesforeverworldpresscom and commented:
Looks so good!
Looks so good!
These are so great! I love this idea and think I will make some as a hostess gift for your Yule celebration. What I would really love to see closer and learn more about is your tree topper. How did you make it? Paper mache? Carved? Blessings.
Hi SummerZ! I’m so glad the post was helpful to you!
Unfortunately, my tree topper image was stolen last year off of my Instagram account and shared tens of thousands of time without my consent, name, or credit for my work. Because of that violation of my trust, I’m not sharing how I made the tree topper. So sorry :(.
Think you missed one of the easiest, especially for kids. We collect acorn cups-especially those with 3or 4 attached, glue beads or coloured pebbles into the cups add thread to hang. But Thank You for the rest.
Thank you, Linda! Great suggestion :).
[…] Painted or Burned Wooden Round Yule Ornaments: Endlessly versatile, this lovely Yule ornament idea can be customized to your heart’s […]
Thanks for sharing the link! 🙂
As a lover of bamboo, I’d like to share that bamboo branches make an excellent bendable material for these wrapped wreaths. Bamboo bends but doesn’t break, symbolic of how many of us may feel at times.
Thank you for sharing your art! My heartfelt sympathy goes out to you for having your art virtually stolen. I do recognize and understand how hurtful this must be to you. May you grow and never break!