
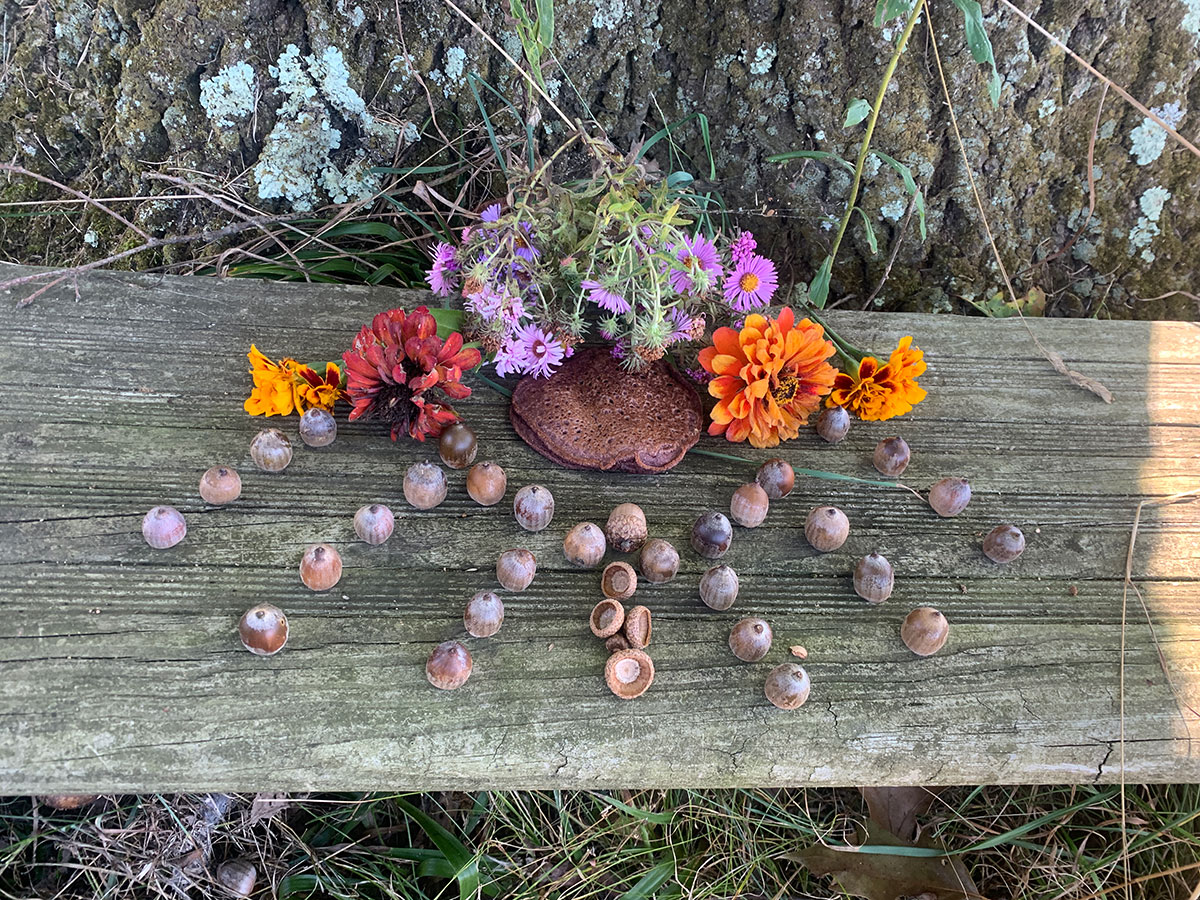
With the cooler temperatures of September and October, the abundance of the Oaks come forth. In my area, we have abundant oaks of a variety of species: white oak, chestnut oak, eastern red oak, swamp oak, and much more. Each of these oaks, every 2-3 years, produces an amazing crop of nuts that simply drop at your feet. Acorn was once a staple food crop of many different peoples around the world–and in some places, it still is. Here in North America, acorns and chestnuts were primary food sources for native American people. Cultures subsided–and thrived–on annual acorn harvests and the bread, cakes, grits, and other foods that can be made with processed acorns. I really enjoy processing acorns and using them as ritual foods for both the fall equinox and Samhain.
Thus, in this post, we’ll explore the magic of the acorn, how to process acorns (through several methods), and a few recipes that you can use to create special foods from acorn flour. Because a small amount of acorn flour takes quite a bit of time and effort, I see it as a “special” food that can be integrated into feasts, celebrations, and more. I prefer to create enough acorn meal to enjoy for a ritual meal for both the Fall Equinox and Samhain.
Healing Harvests and the Sacredness of the Oak
Almost anywhere you live in the world, you are likely to be able to find one or more species of oak tree. Most areas of the world have some oak (Quercus) species, here in North America, we have over 50 varieties that vary quite considerably across bio-regions. The sacredness of the oak has been known across cultures and peoples–for more on the magic and medicine of the oak tree, you can see this post. ALike most other hardwood nut trees (hickory, walnut, butternut), oaks are relatively slow-growing and long-lived; white oaks (Quercus alba) can live 600 years or more. Given the beauty and majesty of oaks, it is certainly not surprising that the ancient druids revered the oak, and the term druid literally means “oak knowledge.” Within the druid traditions, oaks are tied to wisdom, knowledge, strength, power, and grounding. By harvesting the oak and learning to work with the acorns, you can deepen both your connection to this wonderful tree, rediscover a fantastic food source, and honor the ancestral traditions of many cultures and peoples.

A single well-established oak tree can drop 500-2000 lbs of acorns in a single year (according to the delightful Acorn and EatEm book from the 1970s), depending on the size of the tree, the size of the acorn, and the variety. It happens to be a mast year here and a single 300+-year-old Eastern Red Oak here on our property is dropping many more acorns than I–or any squirrel population–can harvest and eat. The oak has dropped acorns for the last month, and they are covering the ground so much that you can’t even walk without crunching them under your feet (even after I’ve harvested about 40 lbs to process). It’s incredible to see how much bounty can come from just one tree that produces year after year and offer. And as a perennial, you don’t have to maintain a field or garden bed, plant seeds, or tend crops. All you have to do is harvest and process the acorns (which still takes some work) and you have a wonderful and magical food source.
Mast Years and Abundance
One of the important things to understand about acorns and harvests is understanding that oaks do not produce equal numbers of acorns each year. Every 3 years, oaks have a very large harvest, called a “mast” year. This is an evolutionary adaptation–if oaks produced huge harvests of acorns each year, the rodent population would get out of control and all of the acorns would be eaten. By having a mast year every 3 years, squirrels and chipmunks will harvest many, bury and forget many, and eat quite a bit. Typically, all of the nut-bearing trees (oaks, chestnuts, hickories, butternuts, walnuts) will produce mast in the same year in a local area, so it is likely you will have years of plenty and years where there aren’t that many to collect.
On Slow Time and Cracking Nuts
Before we get into the process of actually harvesting and preparing acorns, I want to provide an overview of this process and a discussion of time. Acorn processing is not fast. You should not be rushed or in a hurry. This is a deep practice where you invest a lot of time and energy to learn more about the oak and cultivate a relationship with the oak. This is slow food and this is slow time. This is honoring and deepening our practice, learning the oak in a deep way, and taking time to simply be part of the experience.
The basic process is this: gather acorns, crack the acorns and shell them, loosely chop them up, remove the tannins from them, grind them into flour (or keep them as grits) and cook. From start to finish, you are looking at anywhere from 1/2 a day to several weeks, depending on the leaching method you used.

I did some calculations on one of my recent harvests to help share the time it takes so you can be prepared. I am working primarily with Eastern Red Oak acorns, which are medium-sized acorns with a high fat and tannin content (which means longer shelling time and longer leaching time). It took me 2 hours to gather 2.5 gallons of acorns, doing minimal checking, and sorting. It took 30 minutes to sort bad nuts which left me with 2 gallons of acorns. Cracking and shelling represents the largest expenditure of time: 4 hours for 2 gallons of nuts, using a nutcracker (I would budget 5-6 hours for this if you did not have a nutcracker). Cracking my nuts with the Davebilt Nut Cracker took only 20 minutes (which included setting up the nutcracker, wiping it down, cracking the acorns, and putting the nutcracker away). Investing in a nutcracker like this, even with some friends, is a really good idea if you are going to be doing this every year or processing more than a gallon of acorns. Shelling is by far the most tedious process, this took me 2 hours to shell two gallons. Leaching can go anywhere from several hours to several weeks, but a lot of that is waiting time, but I’ll budget 15 minutes a day to cold leeching methods. Grinding your acorns will depend on your method. I am using a small hand grinder (a Victorio VKP1024 hand crank grain mill), which takes about 10 minutes per cup to process (I grind them as I use them to preserve freshness).
So, all in all, the actual work time to gather and process 2 gallons of acorns is about 7-9 hours. Two gallons of acorns resulted in 7 cups of dried flour (which is a sizable amount to work with). This represents the actual physical expenditure of time, spread across however long you are leeching the acorns. If I was working with larger acorns with less tannin, the time would be less.
While this may seem like a lot of time, remember that the acorns are abundant, a gift from the land, and creating acorn flour is a kind of extended conversation and communion with the oaks. Through this process, you are not only learning more about the acorns, but you are developing a deeper relationship with the oak and bringing that oak energy into your life. Acorns are a gift from the land; you only have to gather them and process them. You don’t have to sow them, till the soil, water, or anything else. So while the processing time at the end of the season is considerable, it is all at once, and you are getting as many acorns as you want for free.
Gathering and Sorting: Weevils and Bad Nuts

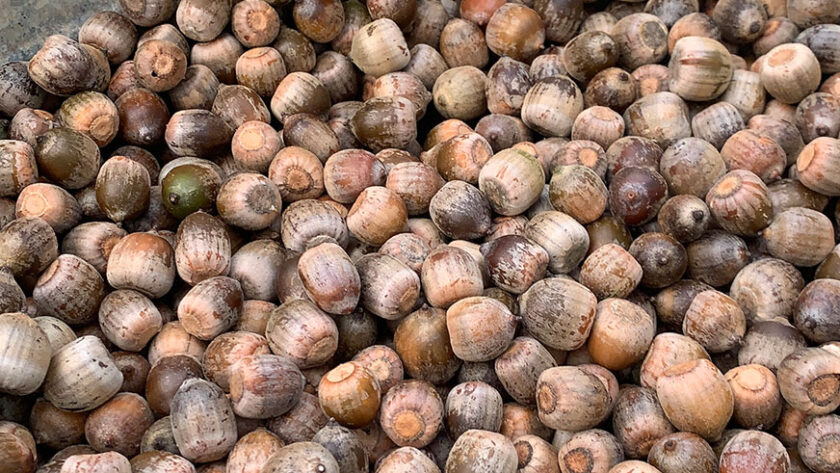
Harvest Timing. The best time to harvest is when you see green acorns covering the ground and when they are dropping from trees. Usually, for where I live (Western Pennsylvania, USA) this is the month or so around the Fall Equinox. You can harvest them later in the season, even well into winter. The nutmeats often dry out at that point but they are still good and are easy to crack.
Weevils and bad nuts. When you go to gather, it is important to know the difference between a good acorn and one that may contain a weevil or be rotten. Thus, before you put the acorns in your lovely forest basket, do a quick check for signs that a weevil might be present. You’ll see this either as a large exit hole (the acorn weevil already left) or as a mark on the acorn that appears someone went into it earlier (usually a small black dot, looking like someone marked it with a black pen). Leave any acorns with a weevil in the forest. You can also look for other signs that the acorn may not be healthy–if it doesn’t have a whole shell, mold or discoloration, etc. Acorns usually drop from the tree green and then turn brown, so you may see acorns in different phases of green and brown, and that is natural.
After you come back home, I recommend letting the acorns sit for 7-10 days. This will make them easier to shell and allow any weevils you missed to come out. I try to set up my acorns so the weevils can crawl and enter the ground on their own. If you have acorns in a box lid, the weevils won’t be able to get to the ground and die. In that case, I feed them to my chickens.
You don’t have to wait–you can crack them and use them fresh. Expect to see some weevils still in the acorns as you work.
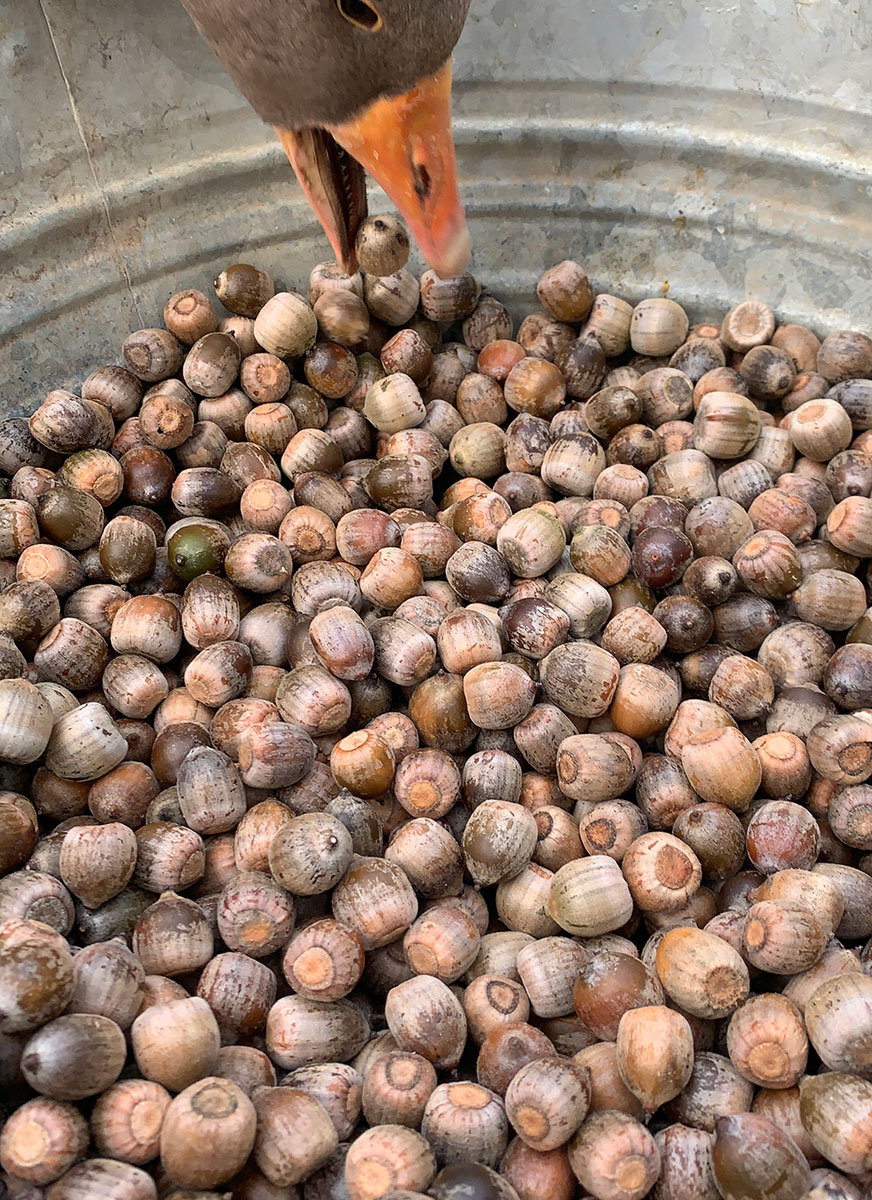
Sorting your acorns. After you’ve let them rest (or not), you can do one final sort of your acorns. I like to just lay the acorns out on a blanket and look at each one. If its too light, discolored, or has a clear weevil hole, I return those to the land, and the rest I crack and shell. For another method, you can also use water to help you sort. Fill a bucket with water and put your acorns in the bucket. Good nuts will sink (indicating that they have a good nutmeat) while bad nuts will float to the top. You can also lay them out on a blanket and let your goose helpers sort for you. An alternative to all of this is just to lay out your acorns somewhere and wait for the weevils to come out–they usually emerge within 3-7 days of an acorn dropping to the ground.
Cracking and Shelling Your Acorns
Processing acorns is mindful work–it requires patience and, preferably, some friends to sit around and do it while you all talk. Most natural food preparation is similar–we have to invest the time to get the rewards of unique and wonderful foods. An evening cracking and shelling acorns will be richly rewarding, indeed!

Cracking and shelling acorns is an art form. You will find that different acorns may require different methods–some are very easy to crack and shell, while others can be tricky. For my Northern Red Oak acorns, I prefer to let them dry in the sun for about two weeks (allowing any weevils I missed to emerge) and then sort them once more before cracking. If they have dried for 2 weeks, they are more likely to shell more easily than if they are fresh from the tree. What I suggest is try shelling some of your acorns green and others a little later and see what works for your specific variety.
Hand cracking. For a long time, I used a method described by Sam Thayer in his Forager’s Harvest book. This involved lining acorns up on a hard surface and using a wooden round post to crack them in a line. It worked quite well. If your acorns are very fresh and the skins aren’t too thick, you can also cut them open with a knife. I am way too much of a klutz to use this “cutting” method but it may work for you. A mallet also can work (I prefer a wooden
mallet to a metal hammer) For Northern Red Oak, you can stand them up on the end and then use a light tap with a wooden mallet to crack them open. As I mentioned above, my current cracking method of choice is a Davebilt nutcracker. It is a fabulous tool and cuts several hours out of cracking. I would only invest in something like this after you’ve committed to a yearly acorn practice and planned on doing larger amounts of acorns.
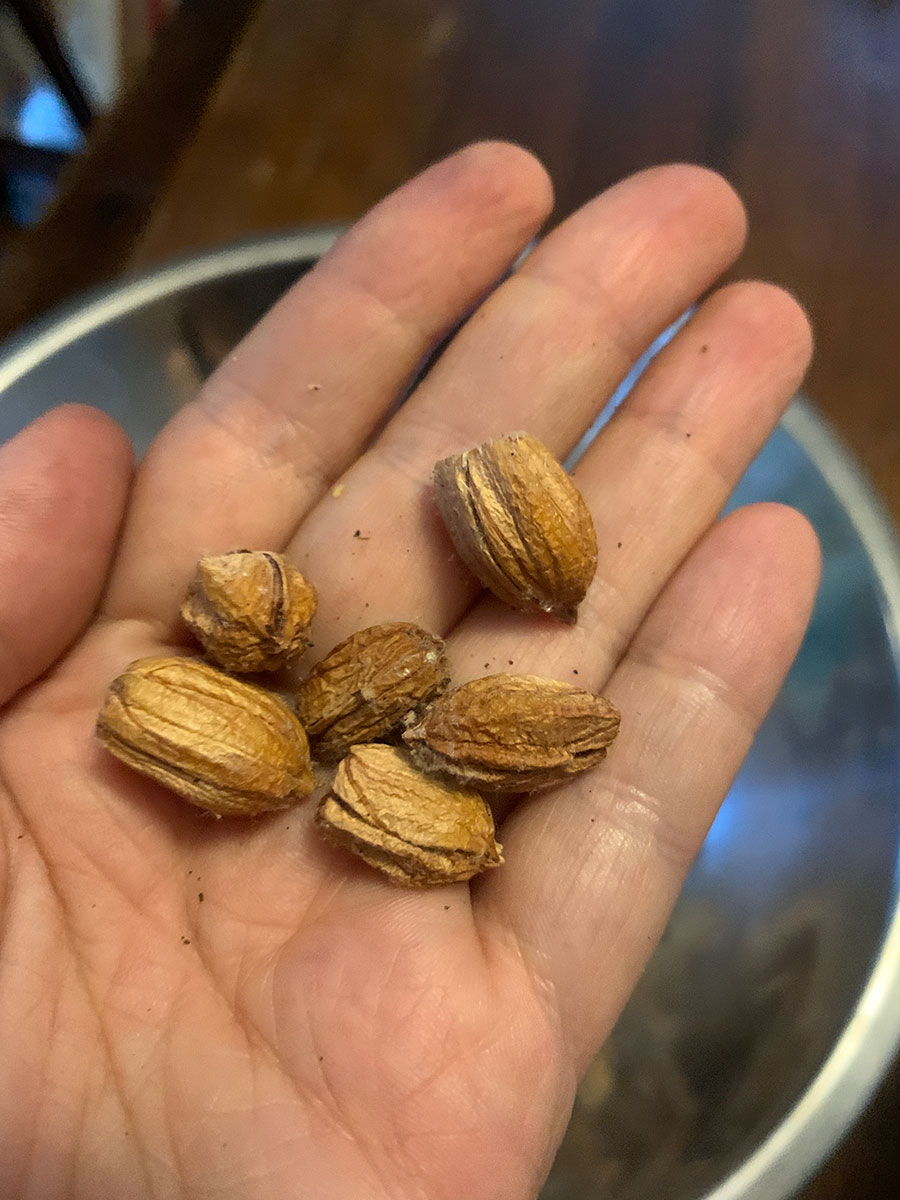
Once your acorns are cracked, it is time to shell them. If you have a nutpick, this is ideal. Any metal tool that can help you dig into the shell and pull out the nutmeat is useful here. I strongly recommend you use a dull tool or you will invariably stab yourself. As you shell your acorns, pay attention to how the nutmeats look–you want nutmeats that are white or cream-colored (when fresh) and intact and light brown (when dried). If you see nutmeats that are wormy, black or dark gray in color–those aren’t good and you want to return those to the land.
Leaching the Tannins
Oaks and acorns have something called “tannic acid”; this is what makes the acorns bitter and makes your mouth pucker when you eat them. Obviously, to make acorn treats, you’ll have to remove the tannic acid or they won’t be palatable. Native Americans would place them in a stream with running water. Today, most of us simply leech them using water and jars or on the stove. I’ll share several methods here that have worked for me.
If you are working with fresh acorns, you can proceed right to chopping them up. If you are working with dried acorns or even those that are partially dried, I suggest soaking them overnight before proceeding.

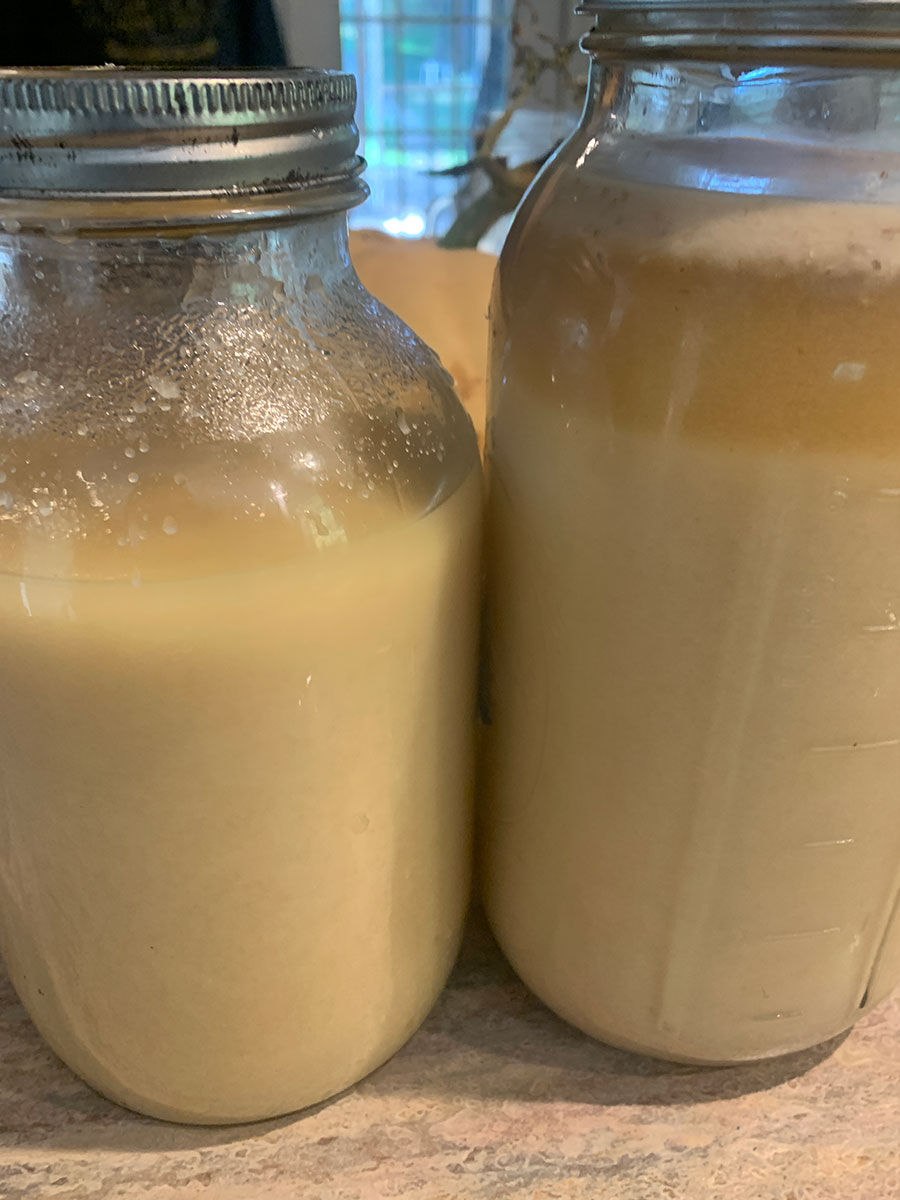
After pulling out the nutmeats, I sent them through my food processor to get a rough chop. You can also do this by hand but it would take a while (i’d probably do it dried in a mortar and pestle if I was doing it by hand). To use the food processor, put a handful of nuts in your processor and then add water. Process till they are finely chopped. You’ll notice that the water is quite milky. This is a good thing: that’s the acorn starch (which can also be saved).
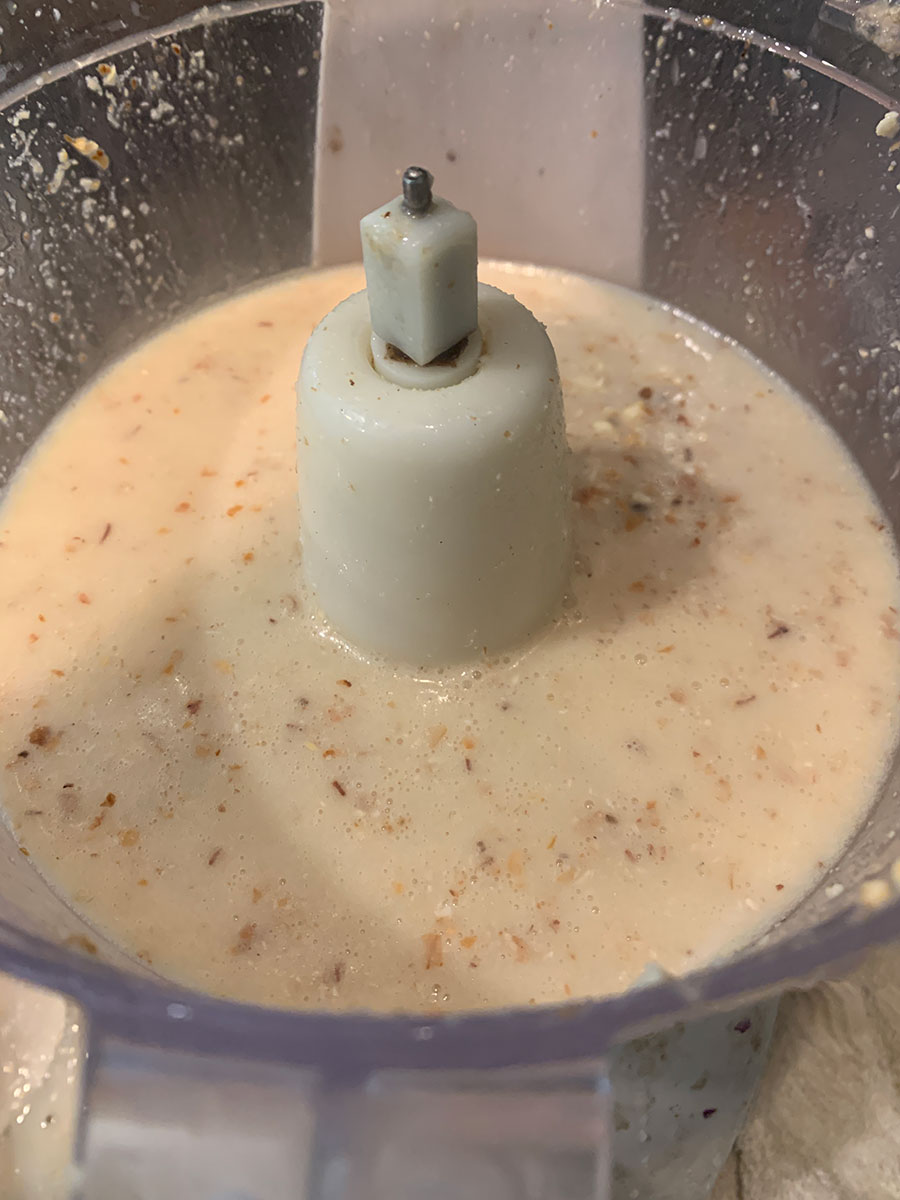
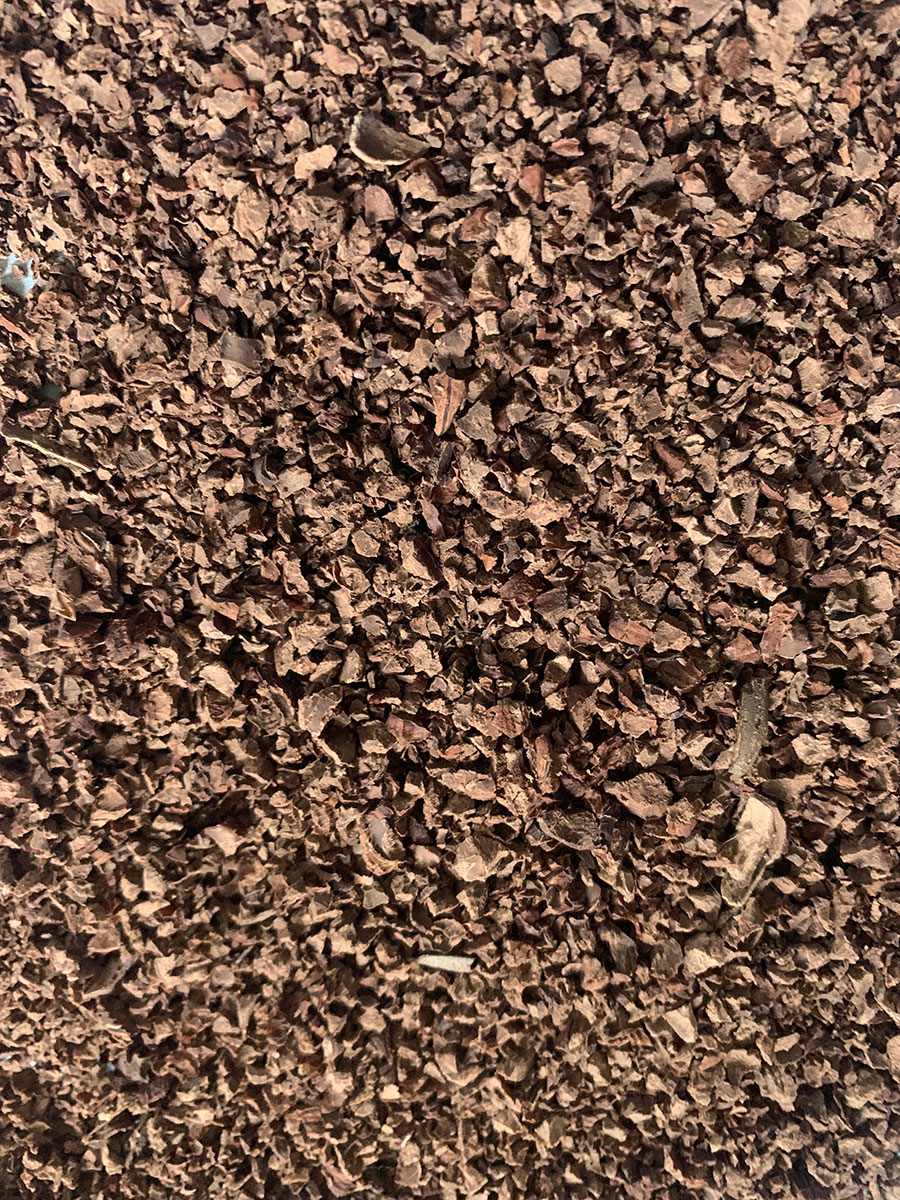
Pour off the acorn starch and put it in your fridge. In a few hours, it will settle in the jars. You will leach this just like the rest of your acorns. Acorn starch is a thickener and can be used just like cornstarch. What you are left with are chopped up “acorn grits” which then you work to leach to create a palatable and delicious food.
Chopping up the acorns to make acorn grits is important. If you try to leach your acorns whole, they will take a really, really long time. The grits are large enough not to go through a strainer but small enough that they have maximum surface area to be exposed to the water.
Now you have a choice of how to leach: cold water leeching, warm water leaching, or hot water leaching. Cold water leaching is the longest (7-14 days) but lets you have the lightest colored flour and also preserves more of the flavor of the acorn. Hot water leaching boils off a lot of the fat and taste and the acorns turn very dark but it can be accomplished in only a few hours. Warm water leaching is a middle ground, also resulting in darker colored acorns but with more flavor than a hot leach.
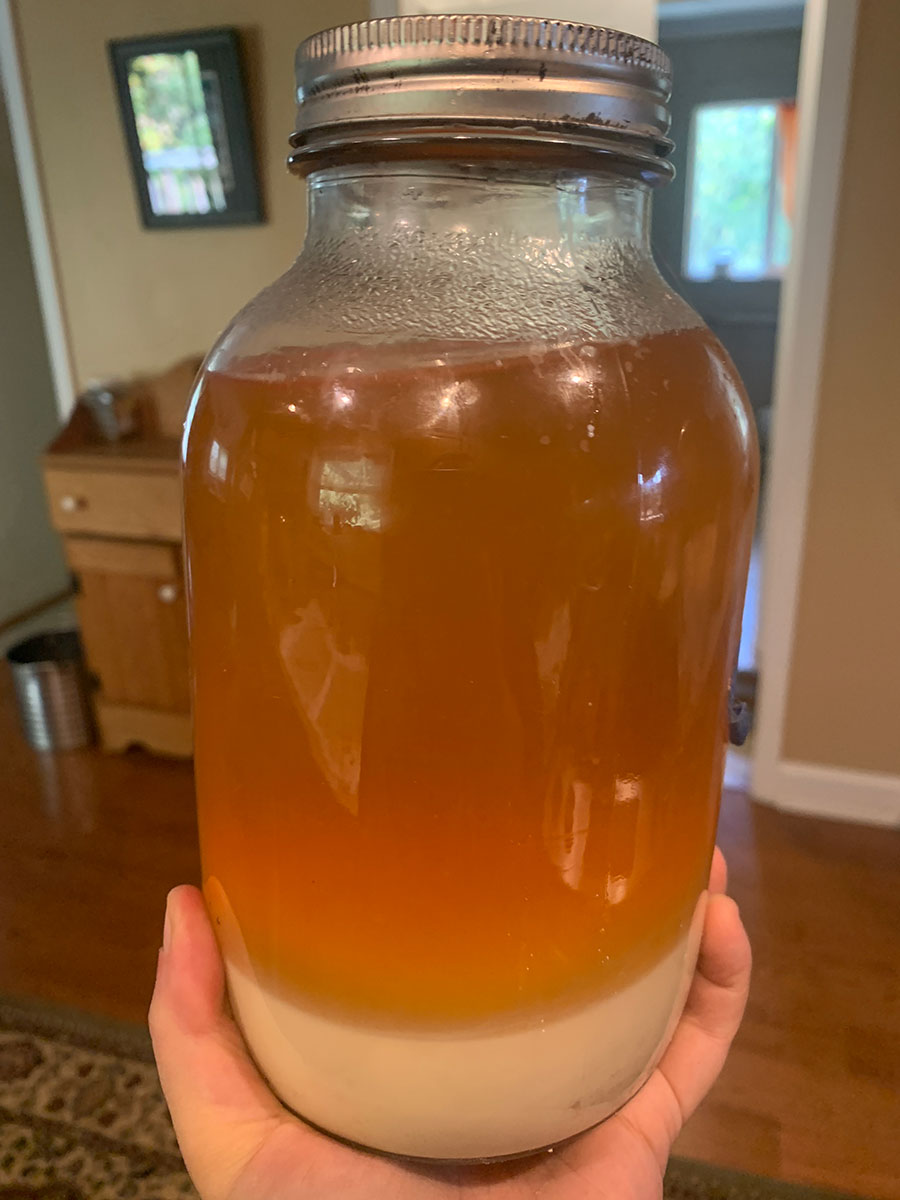
For cold water leaching, you will pour off your starch and then add nutmeats to large jars and/or buckets. They will need to be kept cool. If you have a basement or cool porch, that will be fine, but if not, you will need to keep them in the fridge. Twice a day, you want to pour off the water and add fresh water. As you do this, the water will slowly leach the tannins from the acorns. For high tannin acorns, this can take 7-10 days. (The tannic water from early batches can be saved and used on sunburns or for tanning hides!).
A tip I want to share here is this–when you strain, you want to use some kind of fine mesh strainer so you don’t lose any of your acorn grits. A real time saver for the acorn grits is to use large sprouting jars that have a built-in metal strainer. You can also get cheap sprouting lids to go on a regular mason jar. This will allow you to easily drain the tannin water and add fresh without hassle. For leaching acorn starch, you just have to carefully pour and not stir it up between water changes. Your starch will leech much faster than your grits; you will know either is done by taste as well as the water staying clear. The darker the water, the more tannins are present still.

For warm water leaching, pour off your starch and save it. Add nutmeats to a good pan that will not singe (I used my cast iron dutch oven). Put it on warm on your stove. Pour off the water twice a day. My acorns took about 5 days with this method. You could also use a crockpot on a low setting or even do these on a woodburning stove.
For hot water leaching. Pour off your starch and save it. Add nutmeats to a pan and then bring to a light boil. Boil for 30 min, then pour off the water into a very fine strainer and keep boiling. Do this for a few hours, changing the water every 30 min, until the acorns taste good. My Northern Red Oak acorns take about 3 hours with this method.
Toilet tank method. A final method that you can use is the toilet tank method. I was very excited about this method till I learned that the tannic acid can seriously degrade the inner parts of your toilet if you do it too often. The basic process is to pour off the starch, then add acorn grits to a nut milk bag and then let them sit in the clean tank of your toilet. Each time you flush, you flush the tannins away and add fresh water. It’s similar in timing to a cold leech method. Try it and see if it works for you!
As you are doing any leaching method, keep tasting your nutmeats. Eventually, they will taste good and not bitter, and that’s when you know they are done. You want all of the bitterness to be removed–even a little bitter can make recipes less satisfying.
White oaks have the least amount of tannins and are almost edible right off the tree. Red oaks (of many varieties, with the points on the leaves) typically have more tannins and take longer. In my bioregion, Chestnut Oaks are ideal, as the nuts are really large and require less work to get more acorn meal.
Making Acorn Flour
You now have good tasting “acorn grits” which can be used immediately or dried for later use. If you want to create flour, you will need to do another step. For milling your flour, you want dried grits. I put mine in the dehydrator for an evening on a piece of parchment and by morning, they are dry. The grits can then be frozen for later use or ground up. I prefer to do my grinding just before I use the flour, as it preserves the taste better.

Using a small grain mill, send your dried grits through. You can also use a mortar and pestle at this stage to grind them up into flour.
Acorn Recipes
And so, after all this preparation, you have an *incredibly* sacred food that you can enjoy! Here are two great recipes you can use that start with 1 cup of acorn flour. You can use only acorn flour in these recipes, however, since its so rare and hard to produce, I find its better to cut it with regular flour–the delicious color and flavor of the acorns will still come through!

Sacred Acorn Bread
- 1 cup acorn flour
- 1 cup flour (white, wheat, or GF- I use organic bread flour)
- 1/2 teaspoon salt
- 1.5 tablespoons of baking powder
- 1 eggs (I use duck eggs)
- 1 cups milk (you can use rice or soy if you prefer)
- 3 tablespoons sweetener (I use maple syrup, you can also use sugar or honey)
- 3 tablespoons oil or butter
This recipe makes one loaf (you can double it to make two!)
Preheat your oven to 400 degrees. Grease a loaf/bread pan. Mix your dry ingredients and wet ingredients separately, then mix them together, just enough to integrate. The batter will be thick and a bit lumpy–that’s ok. Pour your batter into the pan and place in the oven. Bake for 30-40 minutes, till a knife or toothpick inserted into the center comes out clean. Pull out of the oven, remove from the bread pan, and then let cool for 10-15 minutes before eating. The bread will keep for a week in the fridge or can be frozen.
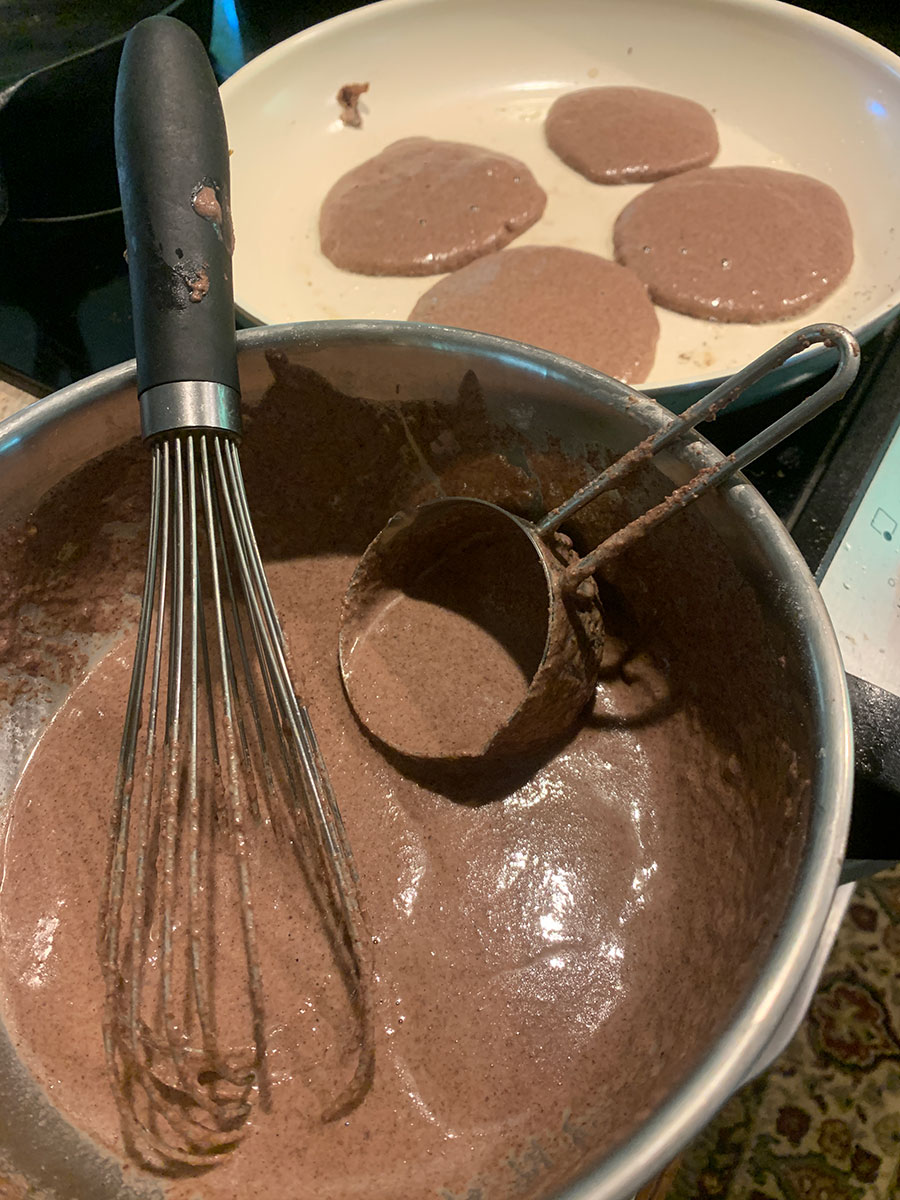
Acorn Pancakes
- 1 cup acorn flour
- 1 cup flour (white, wheat, or GF)
- 1 teaspoon salt
- 2 teaspoons baking powder
- 2 eggs (I use duck eggs)
- 1/4 cup of oil or better
- 2 cups milk
- 1/3 cup sweetener (I use maple syrup, you can also use sugar or honey)
This recipe makes about 12 pancakes.
Combine all dry ingredients then add wet ingredients slowly and stir till mixed. The batter should be smooth and pour well into the griddle. If it’s too thick, add more milk. If it’s too runny, add a little more flour. Prepare a griddle, allowing it to heat up. Check your heat by putting a tiny bit of batter on the griddle and seeing how it does and then adjust your heat accordingly. Lightly oil your griddle (butter, olive oil, bacon grease) and then pour out pancakes using a 1/2 cup measuring cup. Cook on one side for 2-3 minutes, until you see bubbles rising through. Flip and cook another 1-2 minutes. Serve hot with fresh jam, maple syrup, and butter. You can freeze the leftovers.

Gratitude and reciprocation
Part of the reason that I believe that the nut-bearing trees, including the mighty oak, have had
such a sacred place in human history has to do with this beautiful relationship between the near un-ending abundance they provide and the gratitude that people offered in return. As part of my fall equinox celebration, I make sure to take some time not only to eat of the fruit of the oak tree (through cakes and breads) but also, to offer something back. I go to the base of the large oak and offer an acorn cake, build a shrine, and play some music. And during the year, I visit frequently with the oak tree, spending time, communing, engaged in tree for a year work. These kinds of reciprocal practices are as important as the technical skill of learning how to make food from acorns–they are the practices that allow you to deepen your relationship with all aspects of the living earth and engage in reciprocity.

Reblogged this on Blue Dragon Journal.
Thanks for the reblog!
Reblogged this on Paths I Walk.
Thanks for the reblog!
I am so appreciative of your work and leadership. How can I support you?
Just keep reading and commenting :). It’s always nice to hear from people and knowing that my work is resonating.
The link to the nutcracker is for international orders – continental U.S. customers will want https://davebilt.com/shop/ols/products/43-nutcracker instead.
Thanks, Lisa! 🙂
Thank you much for this beautiful post. You convinced me. For beauty’s sake, the exchange must be made with the tree.
Oh yes, absolutely. The reason I got into acorn harvesting years ago was becuase the oaks demanded it. They wanted me to learn how to use them as part of honoring them and as an offering. It really is an amazing experience!
I’m really excited about this! I leached and ate a tiny, experimental batch of acorns last week, having followed a link to instructions from one of your older posts. It worked quite well, but you have just answered a lot of questions I had and I think I will try cold leaching next. I’ve been getting to know my local oaks (here in the UK), it’s been so interesting. It seems to be a mast year for them. I have been wanting to harvest acorns since I was a child, thanks for empowering me!
Nicola, yay! I’m glad that you found this post inspiring and helpful. Cold leaching takes a lot longer. I have a batch in there now (Eastern Red Oak) that have been leaching in the fridge for 12 days now!
I was inspired by your blog to make acorn flour. I’m using the cold method to leach the tannic acid. It’s been 9 days and, when tasting the grits today, they were still quite bitter and the soaking water is still not clear. Have I done something wrong? I’m using white oak acorns. Thanks for any advice you can offer.
Keep going! The longest I had to soak doing the cold method was 3 weeks. Usually white oak have a little less tannin, but individual trees differ. What also matters is the size of your acorn grits–smaller sizes leech faster than larger sizes. Keep me updated!
One more thing–if you get impatient, you can always boil them for an hour or two and that will finish them off :).
Thanks Dana. I think that I didnt ground the grits fine enough so gave them another whirl this morning and now they are finely ground. I’ve been changing the water several times a day, hopefully to speed up the process a bit.
I may try the boiling method depending on how they look tomorrow. My goal is to have acorn bread for Samhain!
Yeah, me too! I have a batch that if its not done tomorrow, I’m going to boiling :). The smaller pieces are all fine but the larger ones are giving me trouble!
Hey Dana! Getting ready to make acorn bread this morning! Thanks for all your advice and insight. I’m so excited to taste the bread.
I was wondering if you had ever thought of incorporating all your blogs into book form (that’s a hint)….or if you have done that already, I would love to know where I could get a copy. I just discovered Druids Garden about 2 years ago and am still reading your blogs….such great information and honestly….I start reading a blog, am intrigued by a link, click on it and down the rabbit hole I go! Thanks for all you do for the Earth and all her children.
YAY! We just had acorn pancakes for brunch today :). Please let me know how it goes!
I do, in fact, have the first 5 years of my blog (focusing on sustainability, permaculture, gardening, and building sacred actions into everyday life) coming out in April 2021 with Shiffer Publishing. I’ll be sharing more about it soon! I have a second full manuscript completed and am working on securing a publisher for that (that book is on land healing). And I’m working on a 3rd at present!
I have chronicled the journey on my fb page with an Acorn Adventures album.
Just took the bread out of the oven…smells divine. And will be taking some outside in a while to share with my Mama Earth family.
Awesome about the books! I’ll be looking for them!
Awesome! We had acorn bread as part of our Samhain feast and it really added something special to the occasion :). I’m glad you were able to finish them in time for Samhain!
I am finally almost finished with my second big batch of acorn flour this year. Do you have any recommendations for an acorn cookie recipe?
I don’t have a specific recipe, but I would think that a 50% mix of acorn flour and regular flour in some kind of gingerbread recipe would be really, really good. Acorn naturally has a nuttiness and even a hint of cacao (the cacao flavor gets much stronger if you roast the acorns).
Hey Amelia & Dana, I’ve experimented with Hank Shaw’s Acorn Maple Shortbread Cookie recipe before and liked it a lot. Here is the link if you want to explore: https://honest-food.net/acorn-maple-shortbread-cookies-recipe/
I’ve been experimenting with acorn gingerbread recipes (it always sounds like such a delightful treat this time of year – Samhain)! I can’t wait to try your bread recipe, Dana. Thanks for the post and continued inspiration…always.
This is great information. We were just discussing how to process the numerous acorns during our WWTOO at our Grove in Baltimore last Sunday. I will share this with the Folk.
Awesome! I’m glad this can be of help. I love doing my yearly acorn processing :).
Thanks for the write up! I was wondering how you process the starch itself? I can’t seem to find mention of it here
There’s not really any processing needed for the starch. You let it settle in a jar, pour the water off. Let it settle again, pour the water off again. At this point, you can put it in the oven or dehydrator, or in the sun, to dry off the rest of the water. You will end up with little sheets of starch, which you can put into a jar and then just use it just like that :).